Understanding Your Oral-B Toothbrush Model
Identify Your Oral-B Model
Before you embark on replacing the battery in your Oral-B electric toothbrush, it’s crucial to know your specific model. Oral-B offers a variety of toothbrushes, each with its own unique design and specifications. Correctly identifying the model ensures you gather the appropriate tools and follow the right steps in the battery replacement process.
Firstly, look for the type number usually printed on the handle of your toothbrush, usually near the charging base. This type number is important for locating the specific instructions for your model. Oral and Braun Oral are renowned for their vast range of electric toothbrushes, making the recognition of the exact type pivotal to efficiently executing the replacement.
If you are unable to find the model number or if it has worn out, consult any documentation that came with your toothbrush. Additionally, if the paperwork has been misplaced, many manufacturers, like Braun Oral, have product identification tools available on their websites to help you source your type number using physical characteristics of the toothbrush. This identification is crucial as certain models may require a different battery cell or even a unique disassembly method.
In case you encounter difficulties in locating your toothbrush model or are unsure about any details, consider visiting this helpful guide for tips on identifying your electric toothbrush correctly.
Gathering the Necessary Tools
Essential Tools for a Smooth Battery Replacement
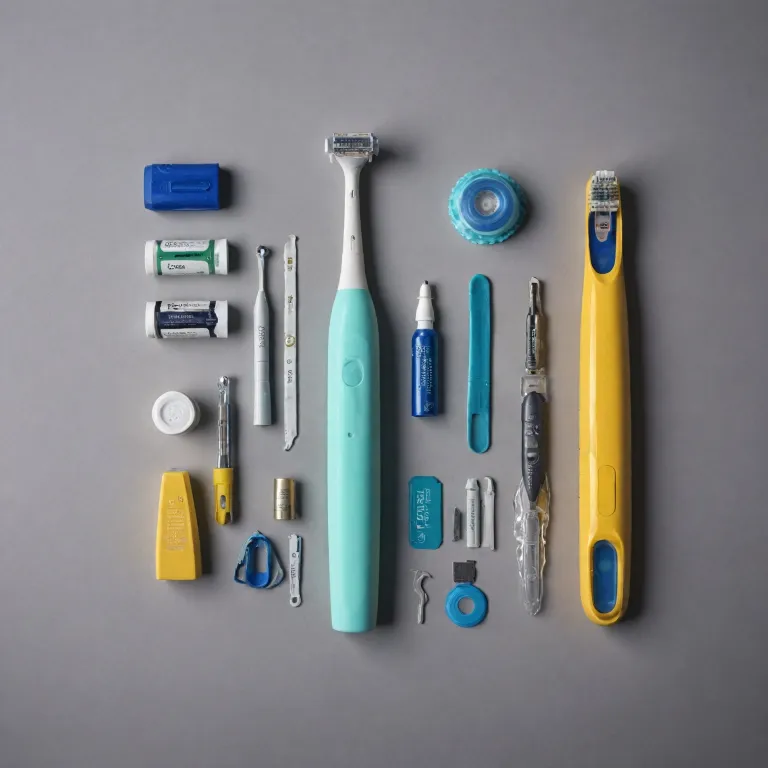
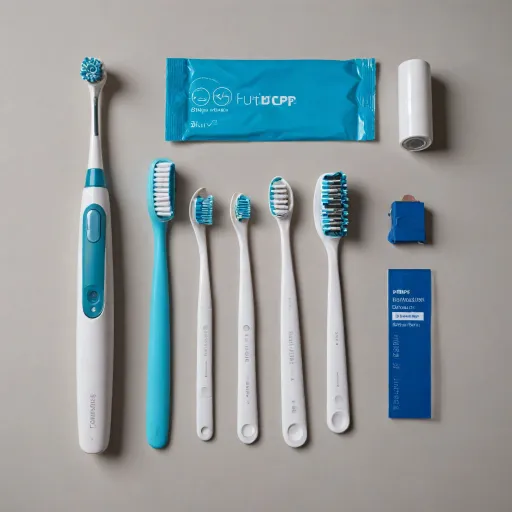
Embarking on a battery replacement for your Braun Oral electric toothbrush requires some preparation to ensure a successful process. Before diving into the task, having the right tools on hand will make the job easier and more efficient. You'll want to gather these items:
- A small flathead screwdriver – Perfect for prying open parts or removing screws that secure the battery compartment.
- A soldering iron – Essential if your toothbrush's PCB (printed circuit board) has soldered connections to the battery terminals. Be sure to handle this tool with care.
- Replacement battery – Ensure the new battery is compatible with your specific Oral model toothbrush. Check the type number and voltage specifications to avoid compatibility issues.
- A pair of needle-nose pliers – Handy for gripping small components and threading connections during the battery replacement process.
- Quality adhesive or tape – To secure any loosened or replaced parts once you've completed the repair.
To ensure you have the correct replacement battery and tools, consult the product manual or the manufacturer's website. Guidance on choosing the right battery can also be found in detailed posts on professional sites. For those using other models or considering alternatives, you may want to explore this insightful guide for more battery replacement techniques.
Safety Precautions Before You Begin
Important Precautions to Take
Before you dive into the battery replacement of your Braun Oral toothbrush, it’s crucial to take specific safety precautions to ensure the process is smooth and risk-free. This guide is crafted to help you think ahead and avoid potential issues during the replacement procedure.- Turn Off and Unplug: Make sure your electric toothbrush is turned off and unplugged from any power source. This helps prevent electric shock and ensures your safety while you handle the device.
- Wear Protective Gear: Safety goggles and gloves might sound excessive, but they can protect you from any unforeseen circumstances like sharp components or accidental battery leakage during the process. Don’t skip this important step while practicing battery oral care.
- Work on a Stable Surface: Choose a clean, clutter-free, and stable surface for your battery replacement task. This minimizes the chance of losing any small parts like screws or washers which are crucial to the proper functioning of your toothbrush.
- Be Prepared with the Right Tools: Gathering the necessary tools beforehand, as mentioned in the related section, prevents unnecessary interruptions in the replacement process. A Phillips screwdriver and tweezers are your essential toolkit for this professional care practice.
- Environmental Safety: Ensure any used battery is disposed of correctly according to local regulations. Batteries contain chemicals that can be harmful to the environment, so it's vital you don’t just toss them in the trash.
Step-by-Step Battery Replacement Process
Follow These Steps for a Successful Battery Swap
In order to effectively replace the battery in your Oral-B toothbrush, this guide will walk you through a step-by-step process. Before diving into the specifics, it's crucial to ensure that you have gathered the necessary tools and taken the required safety precautions. Having a clear understanding of your Oral-B model is also pivotal for a seamless replacement.
- Start by removing the base of the toothbrush. You may find it helpful to use a small flathead screwdriver to carefully pry open the casing from the bottom.
- Once open, locate the battery cell within the toothbrush housing. This is usually a cylindrical battery that powers the electric toothbrush.
- Take note of the type number labeled on the battery or the internal PCB (printed circuit board). This helps ensure that the replacement battery you use is the correct type.
- Disconnect the battery from the electrical contacts on the PCB. Be gentle to avoid damaging the contacts or the board itself.
- Slide the old battery out of its holder, and prepare your new battery for installation.
- Insert the new replacement battery into the battery slot, ensuring that the positive and negative ends are aligned correctly with the contacts.
- Reassemble your toothbrush by carefully threading back the base, ensuring a snug fit to avoid any moisture intrusion.
Once everything is securely reassembled, it's vital to test your toothbrush to confirm the replacement was successful. If your Oral-B electric toothbrush is not functioning as expected post-replacement, consider consulting our troubleshooting section for common issues and solutions related to professional care models.
Testing Your Toothbrush After Replacement
Testing Your Revitalized Oral-B Toothbrush
After successfully completing the battery replacement process, it's crucial to ensure your Oral-B electric toothbrush is functioning as intended. Here’s how you can test your freshly repaired toothbrush:- Secure Reassembly: Before powering the toothbrush, double-check all components. Ensure the casing is properly closed and secured. The top and bottom parts should align perfectly without any gaps. This helps in maintaining the integrity of the water-resistant design.
- Power On: Press the power button to activate the toothbrush. Observe if it turns on immediately. A smooth and steady oscillation or vibration indicates a successful replacement.
- Battery Performance Check: Use the toothbrush for a normal brushing session. A fully charged replacement battery should offer the same operation duration as prior to the replacement.
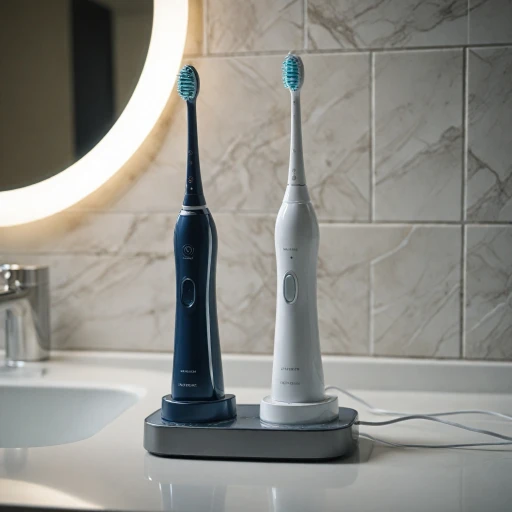
- Charging Verification: Place the toothbrush on its charger. The charger’s indicator light should signal that the battery is charging correctly. Leave it there for a designated charging period (usually overnight) to see if the battery reaches its full charge.
- Functional Test of Settings: If your toothbrush model includes multiple brushing modes, test each setting to verify that they all work as expected. Any issues here might mean a problem with the PCB or settings configuration.
Troubleshooting Common Issues
Identifying Common Post-Replacement Problems
Once you've completed the battery replacement process of your Braun Oral-B electric toothbrush, it's crucial to ensure everything is functioning as expected. However, issues can sometimes arise. Here’s a comprehensive guide on troubleshooting common problems you might encounter after replacing the battery.Troubles with Powering On
- Connection Check: Ensure that all connections are secure. Inspect the internal components like the PCB to confirm every thread and cell is correctly reassembled.
- Battery Type Verification: Double-check if the battery type used matches the recommended type for your oral electric model toothbrush. Incorrect batteries might prevent the toothbrush from powering on.
Unusual Vibrations or Sounds
- Alignment Issues: If there are unusual vibrations or sounds post-repair, make sure that the components are aligned properly inside the casing. Misalignment can cause operational irregularities.
- Component Securement: Reassess if each part is securely in place, particularly focusing on the motor and associated parts.
Charging Problems
- Check Docking Station: Verify the connection between the toothbrush and its charger. An improperly set docking station could lead to ineffective charging.
- Contact Points Inspection: Clean and inspect the contact points on both the toothbrush and the charging station.
Brush Head Behavior
- Proper Attachment: Inspect if the brush head is tightly screwed onto the top of the toothbrush. An insecure attachment can affect the brush's performance.
- Brush Type Compatibility: Ensure that the brush head is compatible with your Braun Oral-B model, as different models can have specific requirements.

