Understanding Your Philips Sonicare Toothbrush
Getting Acquainted with Your Sonicare Device
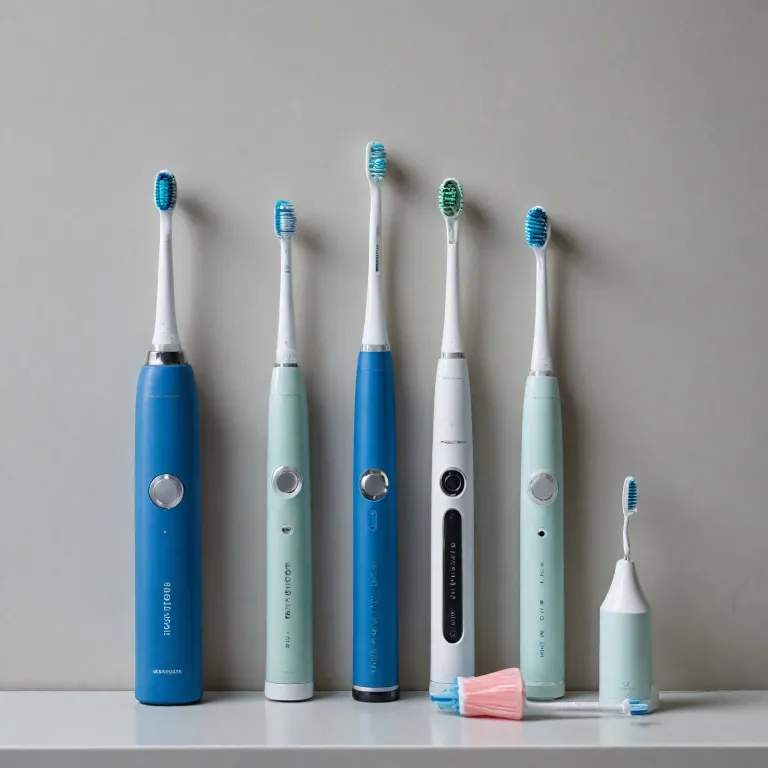
Understanding the intricacies of your Philips Sonicare toothbrush is essential before diving into any battery replacement tasks. As a product recognized for its high efficiency and advanced cleaning technology, the Philips Sonicare series has made its mark as a leading power toothbrush in the United States and beyond. Whether you own a Sonicare FlexCare or another model, knowing your product's basic anatomy and functions can simplify maintenance and maximize its lifespan. Most Sonicare toothbrushes are designed with user-friendly features: a rechargeable battery within the handle, interchangeable brush heads, and multiple cleaning modes for a tailored brushing experience. These electric toothbrushes utilize dynamic cleaning action to achieve superior plaque removal compared to manual brushes. Each model within the Sonicare series, like the Sonicare FlexCare, brings its own set of enhancements. Paying attention to how often you charge your toothbrush, the ease of swapping out brush heads, and recognizing the power or performance decline can all be indicative of when it might be time for a battery change. Lastly, Philips’ customer service and warranty can offer support and guidance. However, understanding the basic components of your electric toothbrush prepares you for effective troubleshooting and possible repairs. For a comprehensive guide on managing these battery replacements, click here for more insights.Signs Your Sonicare Battery Needs Replacement
Recognizing When It's Time for a New Battery
Knowing when your Philips Sonicare toothbrush battery needs replacement is crucial for maintaining optimal performance. Here are some signs to watch out for:
- Decreased Power: If your electric toothbrush is not as powerful as it used to be, it might be time to consider a battery replacement. A noticeable drop in power can affect the efficiency of your brushing routine.
- Shortened Battery Life: When your toothbrush battery doesn't last as long as it once did, requiring frequent charging, it's a clear indication that the battery is nearing the end of its lifespan.
- Charging Issues: If your Philips Sonicare toothbrush is having trouble charging or won't charge at all, it could be a sign that the battery needs replacing. For more insights on charging problems, check out why your Philips Sonicare might not be charging and how to fix it.
- Battery Age: Over time, all batteries degrade. If your Sonicare toothbrush is a few years old, it might be time to replace the battery to ensure continued performance.
Identifying these signs early can help you plan for a battery replacement, ensuring your Sonicare toothbrush continues to deliver the top-notch cleaning experience it's known for. In the following sections, we'll guide you through the tools and materials needed for a successful battery replacement and provide a detailed step-by-step guide.
Tools and Materials Needed for Battery Replacement
Gathering the Right Equipment
Before beginning the battery replacement process for your Philips Sonicare, having the correct tools and materials at hand is essential. Ensuring you are well-prepared ahead of time not only makes the task more straightforward but also minimizes the potential for any mishaps.
Essential Tools and Materials
- Replacement Battery Pack: Ensure you have a compatible battery replace kit designed for your specific Sonicare series model. These are readily available from authorized dealers and online stores.
- Screwdriver: Typically, a small Phillips head screwdriver is necessary to open the handle of the toothbrush.
- Flat-head Tool: Often used to gently pry the toothbrush apart without causing damage.
- Soldering Kit: If the battery is soldered, a soldering iron and related supplies might be needed for disconnection and reconnection of battery contacts.
- Protective Gloves: For safety, especially when dealing with electrical components. Free delivery providers usually offer these as an extra to their battery kits.
- Work Surface: A clean, flat surface to organize and work on your toothbrush and components, ensuring no parts are lost.
Ensuring you have quality tools from reputable product manufacturers is vital for a smooth process. Once you've gotten these tools and materials ready, you'll be on the right track to successfully conducting your toothbrush repair.
Choosing the Right Battery Replacement
When it comes to the choice of a replacement battery, look for those specifically designed for the Philips Sonicare series you own. This varies between models such as the Sonicare FlexCare and others under the Philips Sonicare power toothbrush lineup. Always verify the voltage and capacity to match your current battery specifications.
Ordering from top-rated suppliers within the United States can also expedite your business delivery experience, often providing warranties that guarantee the product for a set number of days post-purchase.
For further guidance on the benefits of choosing natural or eco-friendly options during your battery replacement adventure, you may want to explore the benefits of natural toothbrushes
Step-by-Step Guide to Replacing the Battery
Following the Steps for Switching Out Your Philips Sonicare Battery
Changing the battery in your Philips Sonicare electric toothbrush might seem daunting at first. However, it’s a manageable task with careful handling and the right guidance. Here’s a step-by-step approach to effectively executing the battery replacement process:
- Power Down and Detach the Handle: Start by turning off your Sonicare toothbrush. Afterward, gently separate the handle from the brush head. This ensures you have clear access to the parts needing attention.
- Locate the Battery Compartment: Carefully examine the lower portion of the handle to find the battery compartment. This is where the positive connection for power is housed.
- Open the Battery Compartment: Using a small screwdriver or similar tool, open the compartment. Be cautious to avoid damaging the interior parts or external casing.
- Remove the Old Battery: With access to the interior, gently remove the expired battery. It’s essential to remember the positioning to ease the replacement process and maintain the product's optimal power flow.
- Insert the New Battery: Place the replacement battery into the slot. Ensure that the positive end is aligned correctly for the electric toothbrush to function efficiently.
- Secure the Compartment: Once the new battery is in place, close the compartment securely. Make sure it is tightly screwed to prevent moisture or dust interference.
- Test Your Sonicare Series Electric Toothbrush: Reattach the brush head to the handle and power on your Sonicare toothbrush. Checking its operational status confirms the success of your replacement endeavor.
This simple process of battery replace empowers your Sonicare FlexCare or any Philips Sonicare model to deliver top cleaning performance. Remember, maintaining optimal power in your Sonicare toothbrush helps extend the life of both the brush heads and its efficient cleaning action.
Tips for Extending Battery Life
Maximizing the Longevity of Your Electric Toothbrush Battery
Maintaining the battery life of your Philips Sonicare toothbrush is essential for ensuring it operates at peak performance for as long as possible. There are several strategies you can adopt to maximize the lifespan of your electric toothbrush battery:
- Consistent Charging Routine: Avoid letting your battery fully deplete before recharging. Regular charging helps preserve the battery’s capacity over time.
- Avoid Overcharging: While Sonicare toothbrushes are designed to prevent overcharging, it’s good practice to remove the toothbrush from the charger once it’s fully charged. This can be beneficial especially for older models.
- Temperature Management: Store your toothbrush in a moderate environment. Exposure to extreme temperatures can adversely affect the battery’s health.
- Regular Use: Frequent use of your toothbrush keeps the battery in active condition. Aim for the recommended brushing frequency to ensure your battery stays conditioned.
- Proper Handling and Storage: Treat the handle of your Sonicare toothbrush with care, avoiding accidental drops or impacts that could damage the battery connection.
By adopting these practices, users can help prolong the functionality of their Sonicare series electric toothbrush, ensuring it remains a reliable part of their oral hygiene routine. If issues persist, it may be necessary to explore further troubleshooting options or refer back to the steps for toothbrush repair discussed earlier.
Troubleshooting Common Issues
Addressing Potential Setbacks and Solutions
After you've successfully undertaken a battery replacement for your Philips Sonicare toothbrush, you may still encounter some hurdles. These might stem from post-replacement issues or even oversight in the initial procedures. Understanding how to tackle these situations is vital to ensure the longevity and performance of your electric toothbrush.
- Toothbrush doesn't power on: If your Sonicare series toothbrush fails to start, first confirm that the battery was installed correctly. The positive and negative terminals should align properly with the connections in the handle. If this seems good, consider cleaning the electrical contacts. Often debris or moisture prevents a solid connection.
- Intermittent power issues: When your power toothbrush cuts out unpredictably, inspect for loose battery connections or potential damage to internal wires during the battery replacement. Secure the internal components, ensuring all screws and fixtures are tight.
- Weak vibration or no vibration: Ineffective brush head movements might suggest a drained battery pack. Double-check the battery charge level, and make sure the battery is fully charged before ruling out other component issues.
- Charging problems: The Sonicare charging indicator not lighting up can be annoying. Utilize a different charger of the same series if available. This can help determine if the issue lies with the charger or the toothbrush itself. Sometimes changing the environment, away from other electronics, can resolve electromagnetic interference issues.
- Battery life concerns: Post-replacement, if the battery life still seems restricted, consider the frequency and specifics of your brushing habits. Using functions like the quadpacer or brushing for more than two minutes might drain the battery quicker than expected. Additionally, consistent overcharging can degrade battery life.
By remaining attentive to these potential situations, you can extend the life of your Philips Sonicare product while also maintaining optimal dental hygiene. For those encountering persistent or unusual issues, exploring a professional toothbrush repair shop is a viable option within the United States. Businesses often offer free assessments to provide peace of mind and top-notch support. Remember, being proactive in maintaining the integrity of your Sonicare toothbrush can save unnecessary hassle in the days ahead.