Understanding Your Philips Sonicare Toothbrush
Decoding the Design and Components
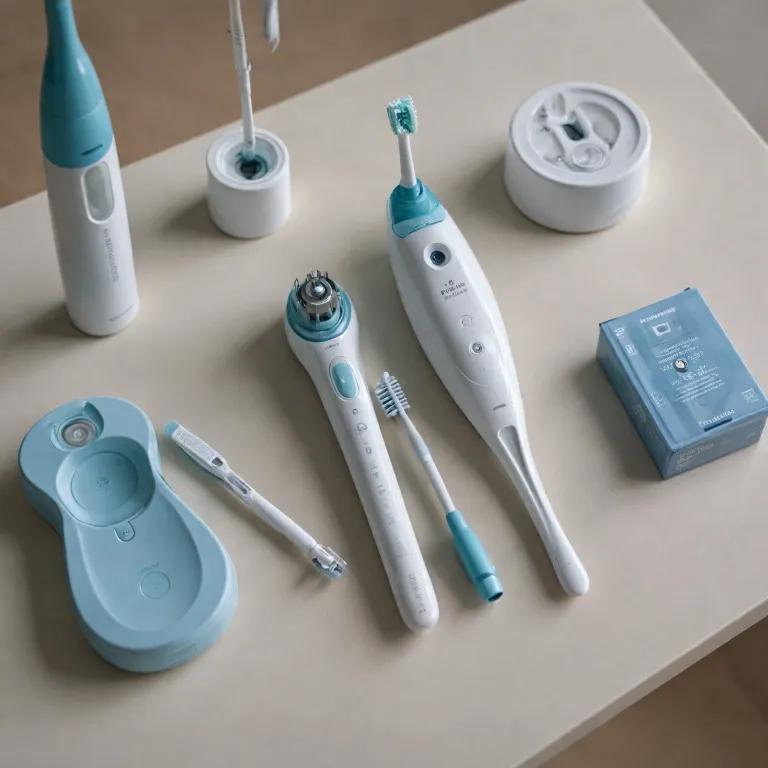
Philips Sonicare toothbrushes are built to deliver an efficient oral cleaning experience. Understanding your toothbrush's design is crucial when it comes to handling components like the rechargeable battery. Carefully housed within the toothbrush's handle, this battery plays a pivotal role in powering the vibrating brush head, ensuring an effective dental routine. Firstly, the brush head sits prominently at the top, and it can be easily detached when needed. Below the brush head lies the cap, which secures the internal components. These internals, once accessed, may reveal the battery that many users attempt to replace when necessary. The handle of the Sonicare is designed not only for comfort but also to conceal the complex internals of the toothbrush. Manufacturers place emphasis on keeping all internal parts tightly sealed to protect them from moisture damage. This seal is particularly important as it safeguards the battery and other electronic components. For those seeking a more in-depth view, exploring the importance of features like tooth brushing timers in electric toothbrushes can enhance your understanding of the device's overall effectiveness. Learn more about the importance of a timer in this comprehensive overview. Understanding these fundamental aspects of the Philips Sonicare toothbrush helps provide the context needed for future steps, such as carefully removing or replacing the battery. Should you need further assistance, reaching out to customer support can offer valuable guidance. Armed with this knowledge, you're better prepared to handle the internals of your electric toothbrush safely and effectively.Safety Precautions Before Battery Removal
Essential Precautions for Safe Handling
Prior to undertaking any battery replacement task on your Philips Sonicare toothbrush, ensuring safety is paramount. Taking the correct precautions not only protects you but also safeguards the internal components of your cherished electric toothbrush. Firstly, make sure the toothbrush is entirely powered off. Doubling down on this ensures no electricity is running through the device, reducing any risk of shock. While it may seem trivial, never skip this crucial step. Understanding the structure of your toothbrush can ease the process. Review internals guides specific to your model, if available, to acquaint yourself with the layout. This knowledge could prove invaluable when you remove or reassemble different parts. Handle the toothbrush with care to avoid damage to fragile internals. Even if you are adept at minor repairs or replacements, having the Philips Sonicare customer support contact information handy is wise. They can offer detailed guidance should you face unforeseen issues. Moreover, wearing gloves is another recommendation. This keeps any potentially harmful materials from coming into contact with the skin, and also prevents your hands from slipping on the smooth exterior. Lastly, ensure you are performing this procedure in a well-lit environment. Visibility is key when dealing with small components or while using tools such as a screwdriver. Never rush the battery removal process. Steadiness and attention to detail can make it both secure and effective. For a deeper understanding of how to safely interact with different settings and modes of electric toothbrushes, consider reading our guide on exploring the various settings on an electric toothbrush. It might provide further insights that coincide with your maintenance and battery replacement endeavors.Tools You Will Need
Gathering the Essential Equipment
Before you dive into the intricate task of removing the battery from your Philips Sonicare, it's crucial to arm yourself with the necessary tools. Having the right equipment on hand can save time and prevent potential damage to the toothbrush's internals.
Here are the tools you'll need:
- Screwdriver: A small screwdriver compatible with the Philips Sonicare's internals is essential for releasing the toothbrush handle and accessing the battery.
- Soldering Iron and Solder: These are vital if the battery is soldered in place. Carefully de-solder the connections to remove the battery safely.
- Plastic Prying Tool: This is helpful to gently open the cap without damaging the toothbrush's seal or internals.
- Replacement Battery: Ensure you have the correct rechargeable battery replacement ready for when you remove the old one.
- Protective Gloves: Wearing gloves protects your hands and ensures that no oil or residue is transferred onto the battery and internals.
With these tools, you're well-equipped to follow through with the battery removal guide. As you proceed, remember that the safety precautions you take can significantly impact the outcome, so handle each step with care and precision.
Step-by-Step Battery Removal Process
Easy Steps to Access the Battery Compartment
First, ensure your Philips Sonicare toothbrush is completely powered off and disconnected from any charging device. To access the internals where the battery is housed, you will need to focus on the bottom handle of your toothbrush. The bottom part of the handle, specifically under the brush head, often conceals where the rechargeable battery resides.Disassembling the Handle
Take your small screwdriver; this will be essential in releasing the internal components. Carefully inspect the bottom cap of the handle. This cap usually has seals around it to protect the internals against water ingress. Insert the screwdriver gently into the designated slots to help loosen the cap without damaging the seal.Opening the Toothbrush Safely
With the cap loosened, apply gentle pressure to the bottom of the handle to slide it apart, exposing the internals of the toothbrush. Your aim is to release the internals' place without exerting too much force, as this could damage the delicate components inside.Locating and Removing the Battery
Once you have access to the internals, locate the battery. With your guides in mind, identify the holding mechanism of the battery. Typically, in Philips Sonicare toothbrush models, the battery is located near the shaft and is held in place by small support structures. For most users, it will be necessary to unsolder the battery from its position. This task requires precision, so use your soldering iron carefully to remove battery connections without affecting other components. Be mindful of the correct procedure for a Sonicanre battery replacement to avoid unintentional damage. Once unsoldered, the battery can be gently removed from the compartment, considering its placement and connection points throughout the process.Proper Disposal of the Battery
Environmentally Conscious Disposal Steps
Once you have successfully removed the battery from your Philips Sonicare toothbrush following the step-by-step guide, it's essential to dispose of this component responsibly. Proper disposal not only complies with environmental regulations but also ensures the safety of your surroundings.- Understand Local Regulations: Different regions have varying rules for battery disposal. It's important to check with your local waste management authority to understand their guidelines regarding electronic waste.
- Recycling Centers: Look for dedicated recycling centers that handle rechargeable batteries. These facilities are equipped to process and recycle the batteries safely. Many electronics stores also offer drop-off points for recycling.
- Avoid Trash Disposal: Never dispose of the battery in regular household trash. This could lead to harmful leaching of chemicals into the environment or pose fire hazards if mishandled during waste processing.
- Use Proper Containers: If you are storing the battery temporarily before disposal, use a container that prevents any leakage or exposure. Most importantly, keep it away from children and pets until you can take it to an appropriate recycling facility.
Maintaining Your Electric Toothbrush
Ensuring Longevity for Your Electric Toothbrush
To keep your Philips Sonicare toothbrush in optimal condition after a successful battery replacement, ongoing maintenance is key. Here are some essential tips to ensure your toothbrush remains in good working order:- Regular Cleaning: Regularly clean the brush head and the bottom handle to prevent the buildup of toothpaste and moisture. This prevents corrosion and wear on the toothbrush's internals.
- Proper Charging: Avoid letting the rechargeable battery completely deplete frequently. Charge it often to keep it in top shape, but refrain from overcharging. Most Philips Sonicare models stop charging when full, but it's wise to unplug them promptly.
- Brush Head Replacement: Replace the brush head every three to four months, or sooner if bristles are frayed. A replacement brush head ensures optimal cleaning performance.
- Inspect the Seal: Regularly check the cap and shaft seal to ensure they remain intact and securely fitted. A damaged seal can jeopardize the waterproof integrity, causing damage to the internal components.
- Handle with Care: Treat the toothbrush with care. Avoid dropping or subjecting it to harsh impacts that may damage the internals or bottom handle.
- Consulting the Guide: Be sure to consult any repair guides for instructions on maintenance should any issues arise. Philips customer support is another valuable resource if additional support is needed.
Maintaining these habits not only enhances the longevity of your electric toothbrush but also ensures consistent dental hygiene. Remember, your Sonicare's performance heavily relies on both correct usage and conscientious care.